How to set up your new Nintendo Switch: tips you might not know

The holiday season always brings some great deals on new consoles, so you may find yourself picking up a brand-new games console for yourself or someone you love. Thankfully, setting up a Nintendo Switch is fairly easy, but there are a few tips and tricks that will enhance your experience that you should know about.
One of the biggest appeals of the Switch is its hybrid nature, you can take it on the go and use it as a handheld, or you can hook it up to your TV and play it like a regular console. Even if you don’t plan to use it on your TV very often, setting up the dock correctly is a good idea as it’s the most convenient way to charge your Switch. Although, do note that if you’re got the Switch Lite version, this cannot be connected to a TV.
Open the panel at the back of your dock and you’ll see one socket for the power cable, which should be plugged in at the nearest outlet, as well as an HDMI socket, which you should use to connect the Switch to your TV. Any HDMI will do, as the Switch isn’t capable of producing a 4K image. There will be USB sockets inside the panel, or on the side of the dock too, these are for pugging in any Switch Pro controller you might own.
Once it’s set up you can slot your Switch into the dock and it should automatically be connected to your TV. You can tell by the little green light at the bottom on the corner of the dock. If it’s lit up, you’re connected successfully. You can detach the joy cons by holding the little button at the top on the back of joy con, then they’ll just slide off.
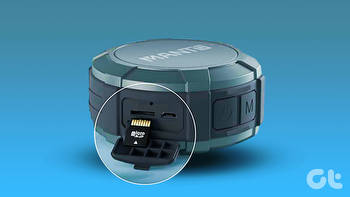
The Nintendo Switch comes with a decent amount of internal storage, but you’ll likely run out eventually, especially if you prefer to buy games digitally from the eShop. It’s a good idea to get your hands on a microSD card, which will greatly expand your storage capabilities. 128GB is the recommended size, as most games for the Switch aren’t too big data-wise.
To install it, turn off your Switch and take it out of its dock, then lift up the stand on the back. Underneath it, you’ll find a small slot where you can insert your microSD card. Turn the Switch on again – it might take a little longer than normal the first time after the card is installed – and that’s it!
If you want to play your Nintendo games online then you’re going to need to pay for the Nintendo Switch Online subscription service. This will unlock online play for every game along with some other exclusive features.
There are two tiers. The base tier costs $19.99 per year. It will give you access to online play, cloud saves, the Nintendo Switch app, and classic console collections full of games from the NES and SNES.
The expansion pass tier costs $49.99 per year. This will give you access to everything in the base tier, as well as Nintendo 64 and Sega Genesis games, and expansion passes for several Nintendo games like Mario Kart 8, Animal Crossing: New Horizons, and Splatoon 2, offering new content for those games.


